After installing and registering your Happyforms plugin, you can start creating a form. This step-by-step guide will walk you through how easy creating and publishing your form on your site is.
Creating a new form
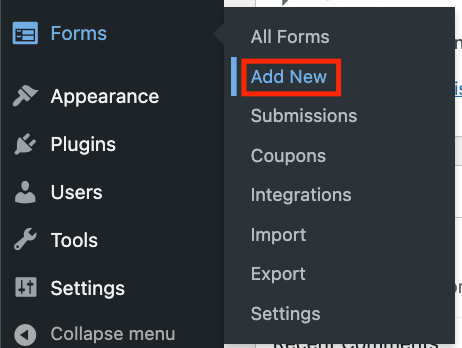
First, log in to your WordPress site’s dashboard. Then from there, hover over forms and click Add New.
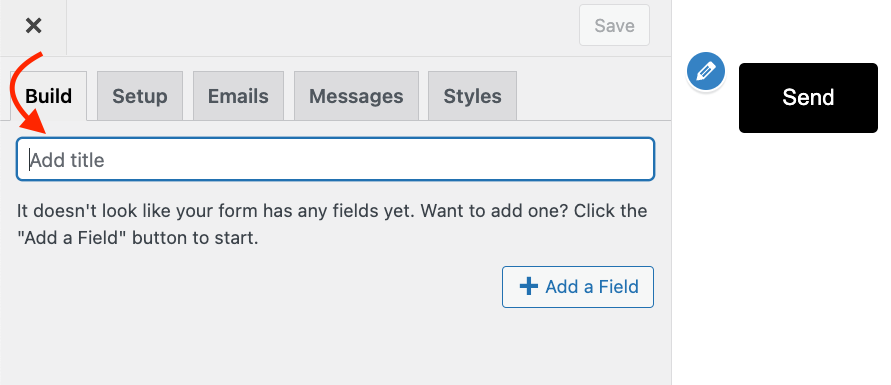
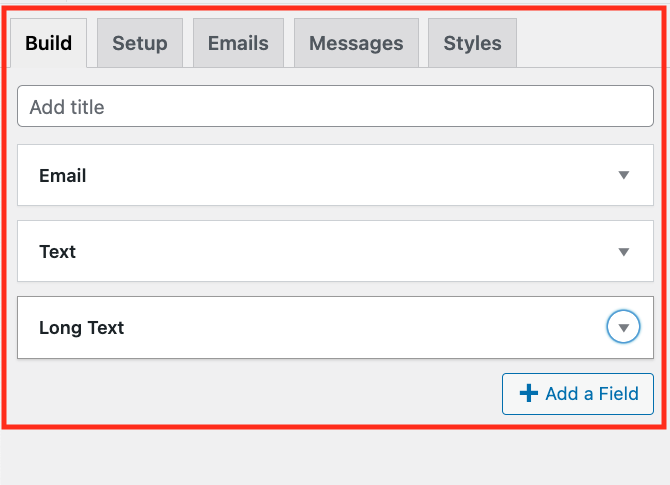
You’ll then be taken to an empty form builder, where you can start building your form. Before adding fields, make sure to add a title to your form. Though it’s not required, it’s better to have one, so you can easily identify your forms.
Adding form fields
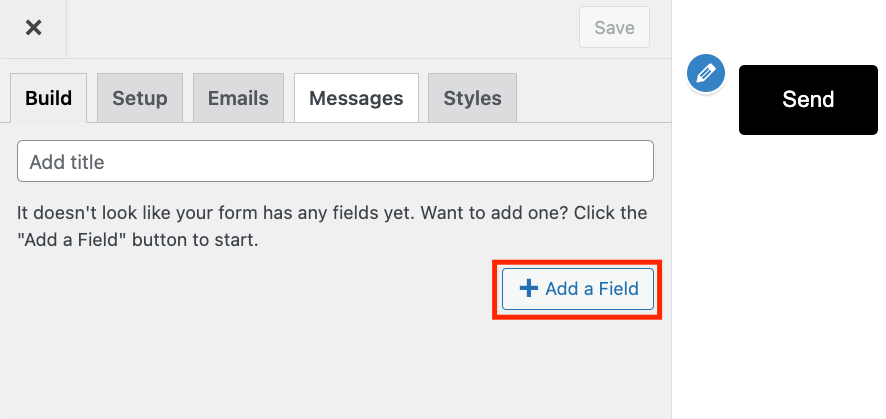
The next step is to add fields to your form. To do that, click the Add a field button.
The field drawer will show up. You can scroll through the field list or use the search function to find the field you need. And to add the field, click on it.
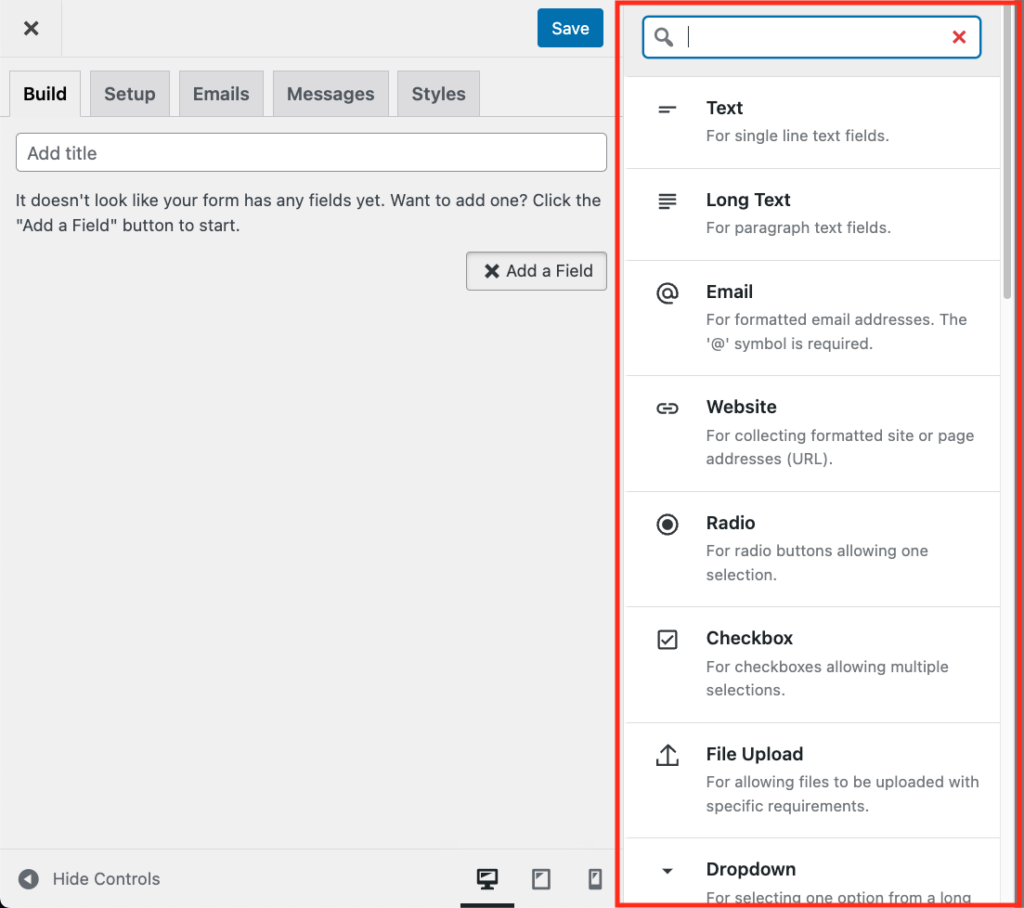
Once you’ve clicked the fields, it will get added to the Build tab.
Configuring fields
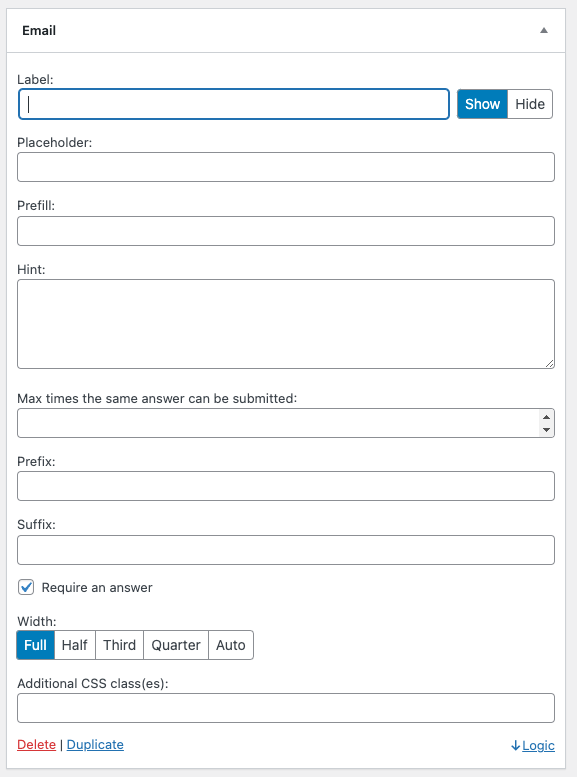
After adding a field, the next thing you need to do is change its settings. The first setting you should change is the label. By default, a field doesn’t have a label, and it’s not required. But it’s recommended that you add a label for every field because that helps identify the submitted values in the notification emails. You can hide them using the hide/show toggle if you don’t want to display them in the frontend.
And if you want to make a field not required, you can uncheck Require an answer checkbox.
There are other settings that you can tweak. Some settings are common to every field, like the label, placeholder, and hint. And some settings are specific to a form field.
Configuring form settings
After you finish adding your fields, it’s time for you to configure the rest of your form settings. There are four other tabs (aside from the Build) in the form builder, and each contains a bunch of form settings. But no need to worry, you don’t need to change all of them. The default settings of the form will work for most users. You’ll only need to change these settings if you have a specific requirement, like setting limits to submission, sending an email notification to multiple addresses, and more.
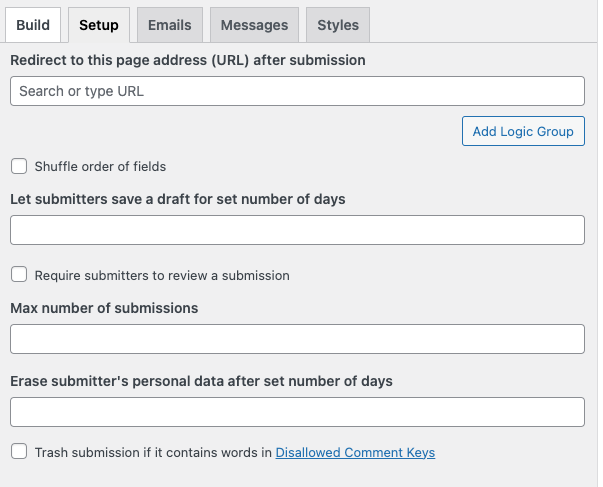
Setup tab
Contains mostly submission-specific settings. Here you can set your form to redirect to a different page after submission. You can also set it here to limit the number of submissions your form accepts.
Emails tab
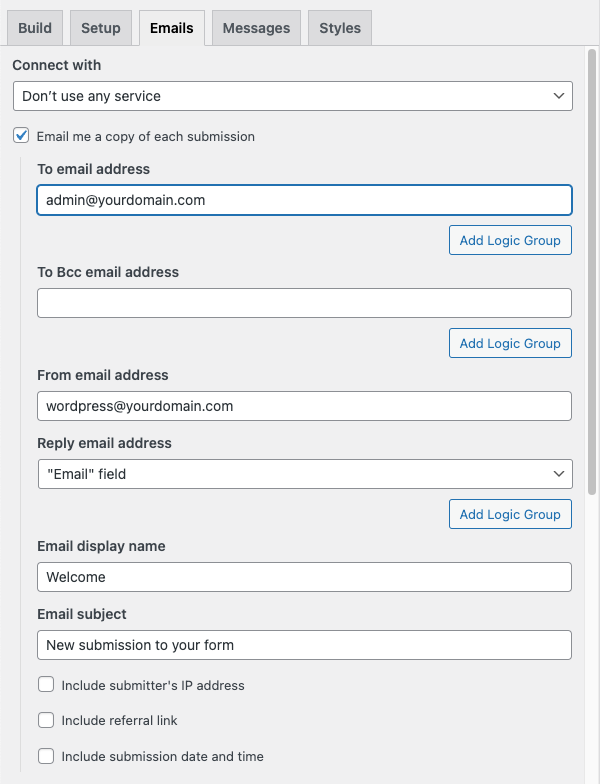
The Emails tab contains all email notification related settings. You can set your form to send administrator notifications emails and can also set it to send the submitter a notification by turning on Email submitter a copy of their reply.
You can send to multiple administrator recipients by adding multiple email addresses separated by a comma.
And if you’re going to connect your form to one of Happyforms’ integration, there is where you configure it by selecting a service in the Connect with dropdown.
IMPORTANT: When setting the From email address, make sure to put an email address that has the same domain as your WordPress site. Happyforms uses your WordPress mail function when sending emails, which uses the hosting’s default email system. And most of the time, these email delivery systems won’t send out emails if the from address is set to a different domain.
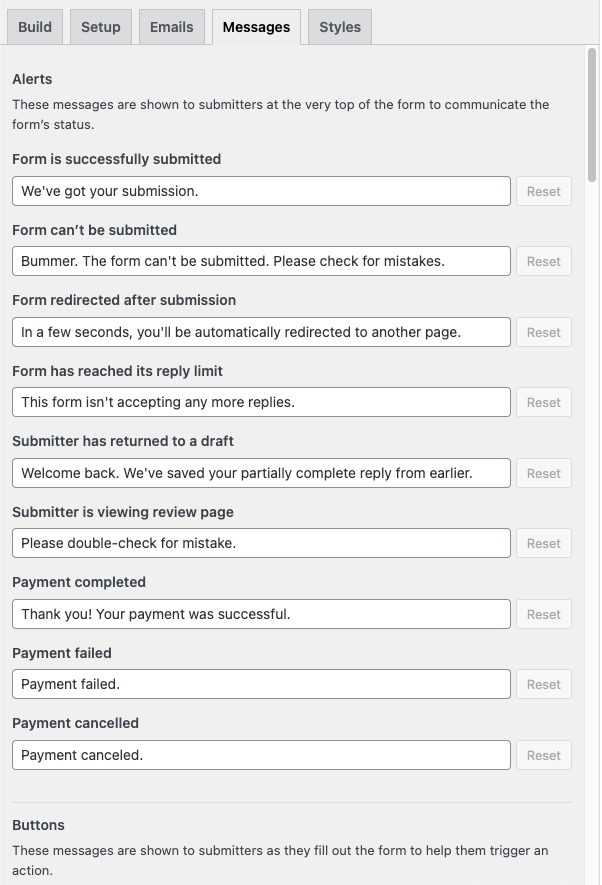
Messages tab
This is where you can change all your form’s text, button labels, error notices, and others. Each form has its Messages settings, so if you want to translate some text, you can do it here. Since each form’s text can be changed individually, this is very useful if you want to create two forms for two different languages.
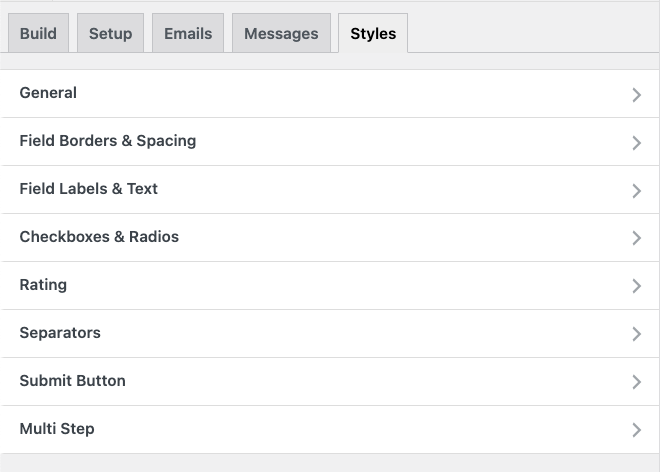
Styles tab
The Styles tab is where you change your form’s styling. You can set the overall spacing of the form and its fields, field font size, colors, borders, and more.
NOTE: Happyforms inherits the font-family property value set by your theme for fonts.
Displaying your form
After creating your form, you can now display it on your website. It only requires a few clicks to add it to your pages. Very easy, right?
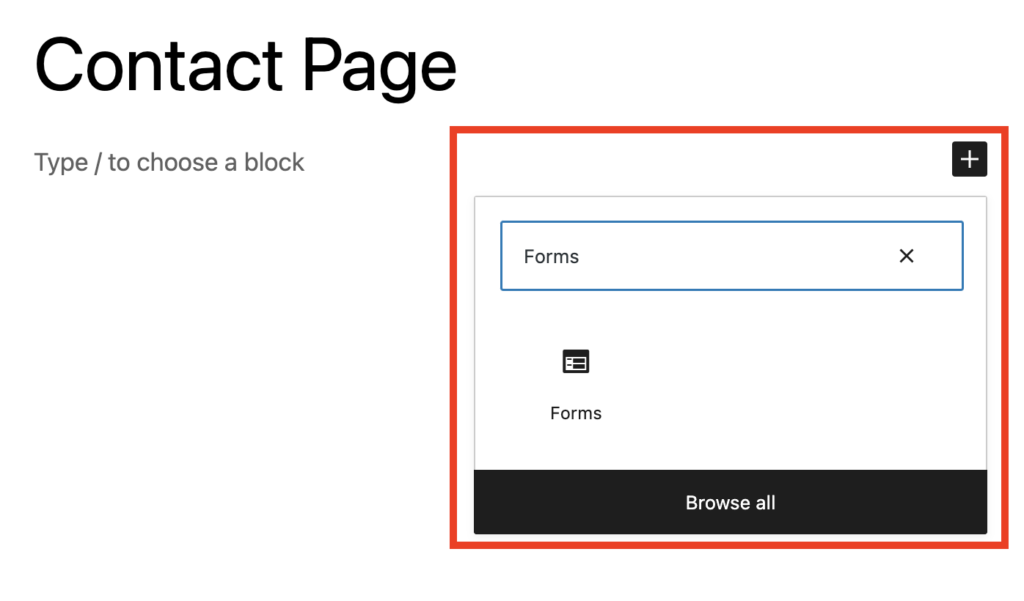
To add your form to a page or a widget using the block editors, click the + Block Inserter, search for “Forms”, then click the Forms block.
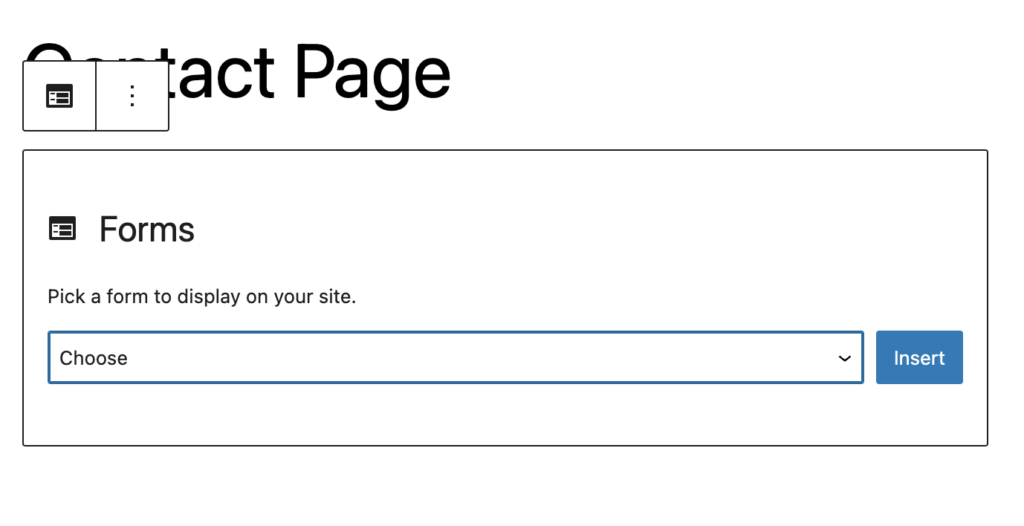
Then in the Happyforms block, choose the form you wish to display.
If you’re using a 3rd party form builder like Elementor, you may need to add your form using a shortcode. You can get the shortcode in your WordPress dashboard’s Forms → All Forms screen. You can see it under the Shortcode column. Click the Copy to clipboard button to copy the whole shortcode.
And that’s all the basics of creating a form with Happyforms.