Hey there! You might be looking for a free WordPress form plugin to be set up for your WordPress website. You’re on the right page! In this guide, we’ll be setting up a free WordPress form plugin in less than five minutes! Yeah, only less than five minutes of your time, and we can already have a working WordPress form plugin that your website visitor could fill up and notify you through email about it. So let’s jump ahead and set it up already! Here are the steps:
1. Download and install the plugin(30 seconds)
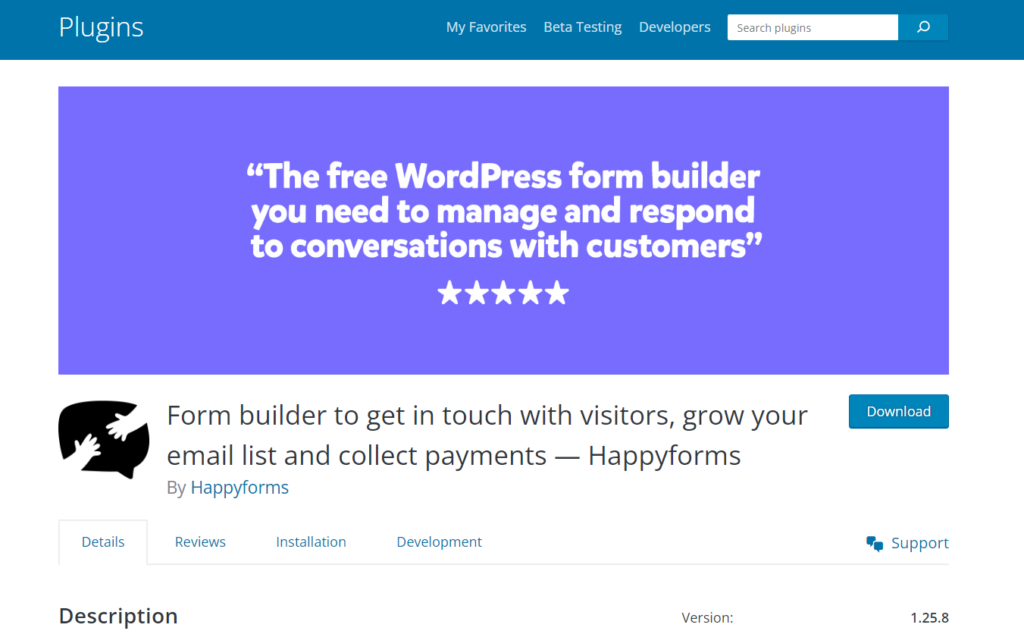
For this step, we’ll be installing the free version of Happyforms. To download the plugin, you can just click here and then hit the blue Download button to save the plugin on your computer. Once downloaded, go to your WordPress website and install and activate it! That’s all for this step, you now have the Happyforms plugin installed on your WordPress website!

2. Create your Form(20 seconds)
To create a form, just head over to Forms → Add New screen on your WordPress admin dashboard. The form builder of Happyforms opens up. Add the title to your form and hit the Save button. Done! You now created your first form, but there aren’t any fields yet, let’s add it to the next step!

3. Add fields to your Form(30 seconds)
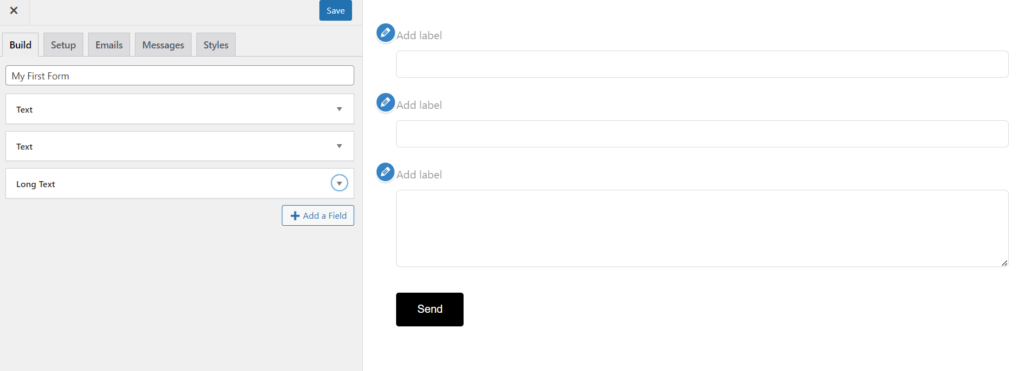
As your first form has been created, it’s now time to add fields to it. To add fields, just hit the Add a Field button, and the fields drawer will slide in, choose your preferred fields and just click on it, the chosen field will now be added to your form. For this example, I’ve added three fields, two Text fields, and one Long Text field. We’ve just created a simple contact form. Fields are now added to your form and you can already see how it looks in the right preview section of your form builder.

4. Add labels to your form(1 minute)
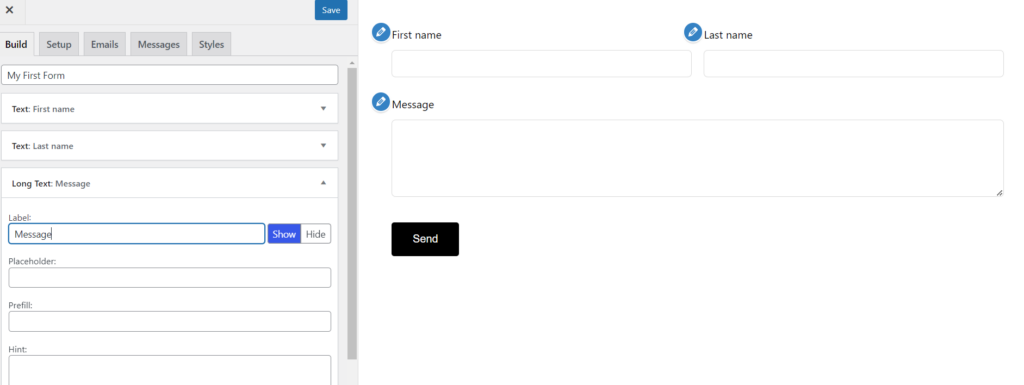
To add labels, just expand the fields of your form. Then, populate the Label field. As you type in some text, you’ll see that in the preview on the right section of the form builder, the labels are also populated synchronously. Once done, don’t forget to hit the Update button to save the changes.

5. Configure email settings(30 seconds)
For this step, you’ll just need to head over to the Emails tab of your form builder and just make sure you’ve populated all the correct email addresses in the fields. The field To email address is where the emails will land when someone fills up your form. Make sure you’ve added the correct one that is working properly. Most of the time, this is a common issue for first-time WordPress users, the emails from their contact form don’t land in their inbox, so be sure you have double-checked this setting.

6. Add your form to a page(1 minute)
Everything was all set up! It’s time for you to add your form to a post or a page. To add your form to a page using the block editor, click the + Block Inserter, search for “Forms”, then click the Forms block. Choose the form you recently created and that’s it! You now have added your form to a page, just don’t forget to hit the Save/Update button to save your page.
7. Test your form(1 minute)
You may already have an idea about doing some testing on your form. For this, just head over to the page where your form has been added. Populate the fields and hit the submit button, if it is successfully sent, the green validation message will appear, this means that your form is okay and will soon land in the inbox of your email address. Once it landed, congrats! You now have a working form for your WordPress website.
Wrapping it up
Hey, that’s about 4 minutes and 50 seconds, it could be even less but I doubt it could be more! Setting up a free WordPress form plugin like Happyforms is very easy! With these steps being followed, you now know how it can easily set up a form for your WordPress website! Also, it doesn’t necessarily need an additional cost, just about 5 minutes of your time!